

News


Stainless steel vacuum cup production process flow
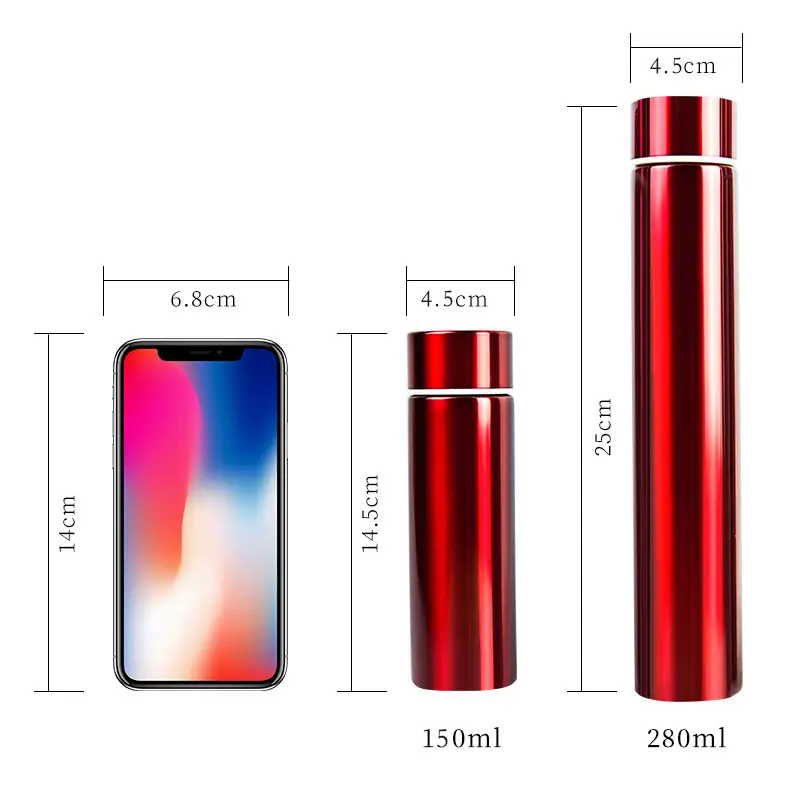
The stainless steel thermos cupis made of double-layer stainless steel inside and outside. Welding technology is used to combine the inner tank and the outer shell, and then vacuum technology is used to extract the air from the interlayer between the inner tank and the outer shell to achieve the effect of vacuum insulation.

The characteristics of the stainless steel thermos cup are that it has a lid on the top and is tightly sealed. The vacuum insulation layer can delay the heat dissipation of liquids such as water contained inside to achieve the purpose of heat preservation. The thermos cup is developed from the thermos bottle. The insulation principle is the same as that of the thermos bottle, but people make the bottle into a cup for convenience. There are three ways to spread heat: radiation, convection and transfer. The silver bladder inside the thermos cup can reflect the radiation of hot water. The vacuum between the bladder and the cup body can block the transfer of heat. Bottles that are not easy to transfer heat can prevent heat convection.
Stainless steel thermos cup production process flow
- Shell processing process
Outer pipe picking - pipe cutting - bulging - segmentation - bulging - rolling center angle - bottom shrinkage - bottom cutting - rib punching - flat top - bottom punching - flat bottom - cleaning and drying - inspection and knocking - qualified shell .
- Inner shell processing process
Inner pipe picking - pipe cutting - flat pipe - bulging - upper corner rolling - flat top opening - flat bottom opening - thread rolling - cleaning and drying - inspection and knocking - butt welding - water test and leak detection - drying - qualified inner tank .
- Assembly process of outer shell and inner shell
With cup mouth - welding joint - pressing midsole - welding bottom - inspecting welding joint welding bottom - midsole spot welding getter - tailless vacuum technology vacuuming - temperature measurement - electrolysis - polishing - temperature measurement - inspection and polishing - external pressure Bottom - spray painting - temperature detection - inspection of spray paint - silk screen printing - packaging - finished product storage.

A brief description of the production process of stainless steel thermos cup
- Cut the pipe: use a lathe. The dimensions are required to be accurate; defective products and waste materials are detected promptly, and pits, pits, pits, and scrapped products must be avoided during operation.
- Water expansion: use water expansion press. It requires concentration and always pay attention to whether the pits, size, and shape of the product meet the requirements.
- Segmentation: Use an instrument truck to cut off the two shells that are swollen by water. It is required that the size is accurate, the cuts are even, and there are no gaps or burrs.
- Bulging: Use a large press, and the pipe welding joint of the shell should correspond to the joint of the mold. It requires concentration. The pipe welding joint of the shell should correspond to the joint of the mold. Always pay attention to whether the pits, size, and shape of the product meet the requirements.
- Roll the center angle: Use a lathe to roll the two corners through the concave shape of the bulging shell until they meet the size requirements.
- Bottom shrinking: Use a lathe to shrink the arc bottom opening of the bulging shell to meet the size requirements. To avoid pits, concave spots, pitting, and scrapped products.
- Bottom cutting: Use a lathe to cut the bottom of the shrunk shell to standard size. The cuts are required to be even, without gaps or burrs.
- Rib punching: Flatten the welding seam at the shell mouth on a small press, so that the welding seam will not skip and the welding seam will be smooth and even.
- Flat top of the shell: Use a lathe to make the flat top even, without gaps or burrs.
- Bottom punching: Use a press and always pay attention to whether the dents, size, and shape of the product meet the requirements, and whether there are cracks at the bottom of the stamping.
- Flat-bottomed mouth: Use an instrument car to make the flat-bottomed mouth uniform, without gaps or burrs.
- Flat pipe: Use an instrument truck to flatten one end of the pipe mouth. The flat mouth should be even, without gaps or burrs.
- Roll the upper corners: Use a lathe to roll the protruding corners of the bulged liner until they meet the size requirements.
- Flat opening of the inner tank: Use an instrument car to ensure that the flat opening is even, without gaps or burrs.
- Thread rolling: Use a special thread machine to adjust the depth of the thread to meet the size requirements.
- Cleaning and drying: Clean and dry the inner tank and outer shell.
- Inspection and knocking: Check whether the inner tank and outer shell are qualified, and knock out any pits or pits until they meet the requirements.
- Butt welding: Butt weld the inner tank and the inner bottom. The welding seam is required to be smooth, without holes or pits.
- Water test and leak detection: Inflate the butt-welded inner tank to test the water. If there are no leaks in the weld, it is qualified if there is no leakage.
- Matching the cup mouth: Put the inner tank and outer shell together and make the cup mouth flat.
- Welding joint bottom: Make sure the welding joint bottom is penetrating and smooth, with no uneven spots, welding nodules or missing solder joints.
- Spot welding: The getter is spot welded in the midsole. The getter on the spot welding must be used to vacuum within 24 hours, otherwise it will be ineffective.
- Press the midsole: Press the cup with the welded mouth onto the midsole with the getter spot welded on it, and press it flush with the bottom lip.
- Inspect the welding bottom of the welding mouth: Inspect the cup with the welding bottom and pick out whether there are leaking welds, poor cup mouth welding or other bad reasons.
- Vacuuming: Tailless vacuum technology is strictly implemented in accordance with vacuuming standards.
- Temperature measurement: Check whether the cup is vacuum and pick out the cup that is not vacuum.
- Electrolysis: Send out electrolysis. The electrolysis in the cup is required to be bright and uniform, without watermarks or yellow spots.
- Polishing: The cup shell is required to be polished finely and the texture is orderly, and the mouth of the cup is smooth and bright.
- Inspect polishing: Check whether the polished cup meets the requirements. If it is not good, pick it out and re-throw it.
- Press the outsole: Press the outsole on the polished cup and press it flat.
- Spray painting: Send it to an outsourcer for spray painting. The color must be the same. The spray paint must be uniform and firm, and there must be no paint peeling, pitting, etc.
- Inspect the spray paint: Check whether the spray-painted cup meets the spray paint requirements. If it is not good, the paint will be removed and polished again. If it is good, the next process will be carried out.
Silk screen: Silk screen the trademark LOGO as required. It must be clear and the pattern, size, color and position are the same. The silk screen label cannot be stuck with a plastic bag and cannot be easily deducted with nails, so it must be dried in a drying tunnel after screen printing.
- Packaging.